Where Family Values Meet Expert Plumbing Solutions
Ted & Bros Plumbing Inc. has served Orange and Los Angeles counties for more than a decade, offering expert leak detection, drain cleaning, and trenchless pipe repair. We combine professional service with a personal touch, delivering quality and integrity on every job.
★★★★★
"Victor was awesome and super-friendly! He brought two low-flow toilets to my apartment. The upstairs toilet could not be replaced due to the way it was installed originally, but he explained everything very clearly and it totally made sense. He replaced the downstairs toilet with a new low-flow model, which is working perfectly. Thanks, Victor!"
- Luke H.
★★★★★
- Luke H.
"Victor was awesome and super-friendly! He brought two low-flow toilets to my apartment. The upstairs toilet could not be replaced due to the way it was installed originally, but he explained everything very clearly and it totally made sense. He replaced the downstairs toilet with a new low-flow model, which is working perfectly. Thanks, Victor!"
See Ted & Bros Plumbing in Action
Experience our quality, expertise, and dedication in action.
At Ted & Bros Plumbing, we are more than just a plumbing company—we are a trusted partner in keeping your home or business running smoothly. With over a decade of experience serving Orange and Los Angeles Counties and California areas. Our mission is to deliver top-notch plumbing services that combine expert craftsmanship with exceptional customer care.
Our team is dedicated to exceeding your expectations with innovative solutions, whether you’re dealing with an urgent leak, planning a water heater upgrade, or looking to optimize your home’s plumbing system. We pride ourselves on offering transparent pricing, timely service, and long-lasting results.
But don’t just take our word for it—see us in action!
Our Services
Comprehensive Plumbing Services You Can Trust
From quick fixes to major installations, our expert team delivers reliable solutions tailored to your needs.
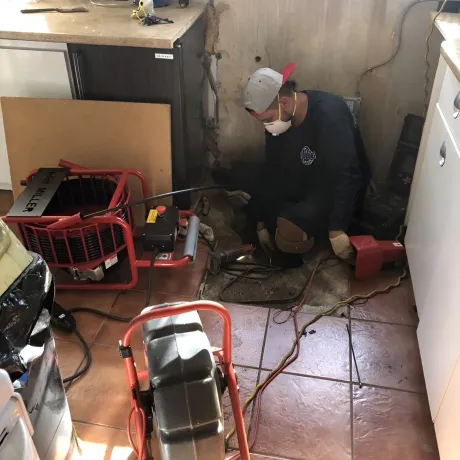
We handle everything from drain cleanings to sewer repairs, ensuring your plumbing flows efficiently.
Our advanced leak detection and water line services are designed to pinpoint and fix leaks efficiently.
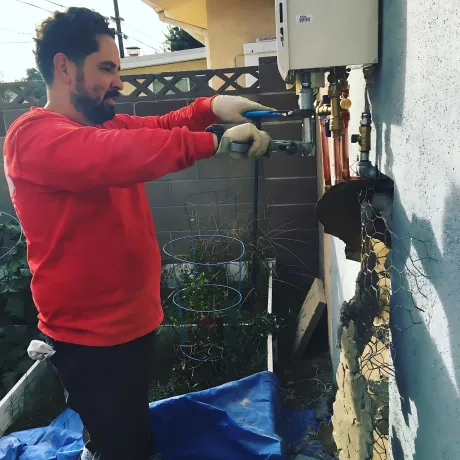
Whether traditional or tankless, we provide installation, maintenance, and repair to keep your hot water reliable.
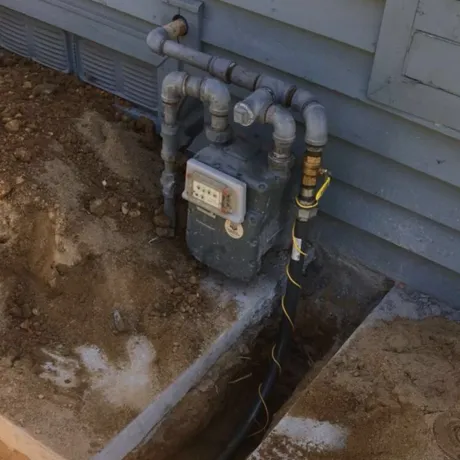
We offer gas line services, including leak detection and earthquake safety valve installations for peace of mind.
From essential repairs to complete replacements, our services keep your home or business running smoothly.
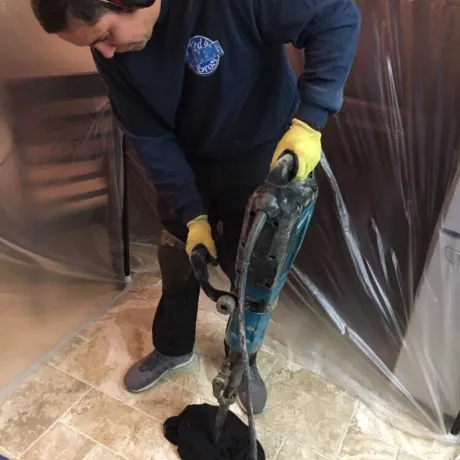
We offers no-dig pipe repairs that restore pipes without damaging your landscape. Quick, and hassle-free.
Customer Reviews
What Our Client's Say
Your satisfaction is our top priority. We go above and beyond to ensure that every customer's needs are met and exceeded.
★★★★★
Expedient service to replace a water condensate line just before the arrival of my new appliances. Finished in the knick of time! Good team work.
Cheryl B.
★★★★★
Arrived on time. Ezekiel explained everything & showed photos. They had to go under the house & work in mud & they were exceptionally clean. Reasonable price as well.
Stacy G.


